Historically, dental implant placement was primarily guided by available bone volume, often leading to unideal restorative positions, unesthetic emergence profiles, and long-term biomechanical complications. Today, modern digital dentistry has shifted the surgical paradigm toward prosthetically driven implant placement planning. By designing the final prosthetic restoration prior to surgical intervention, clinicians and dental laboratories ensure optimal function, esthetics, and long-term peri-implant tissue stability.
Table of contents
- What is prosthetically driven implant placement planning?
- Scientific evidence and biological rationale
- Step-by-step clinical and digital workflow
- Overcoming workflow bottlenecks through CAD outsourcing
- Frequently asked questions (FAQs)
1. What is prosthetically driven implant placement planning?
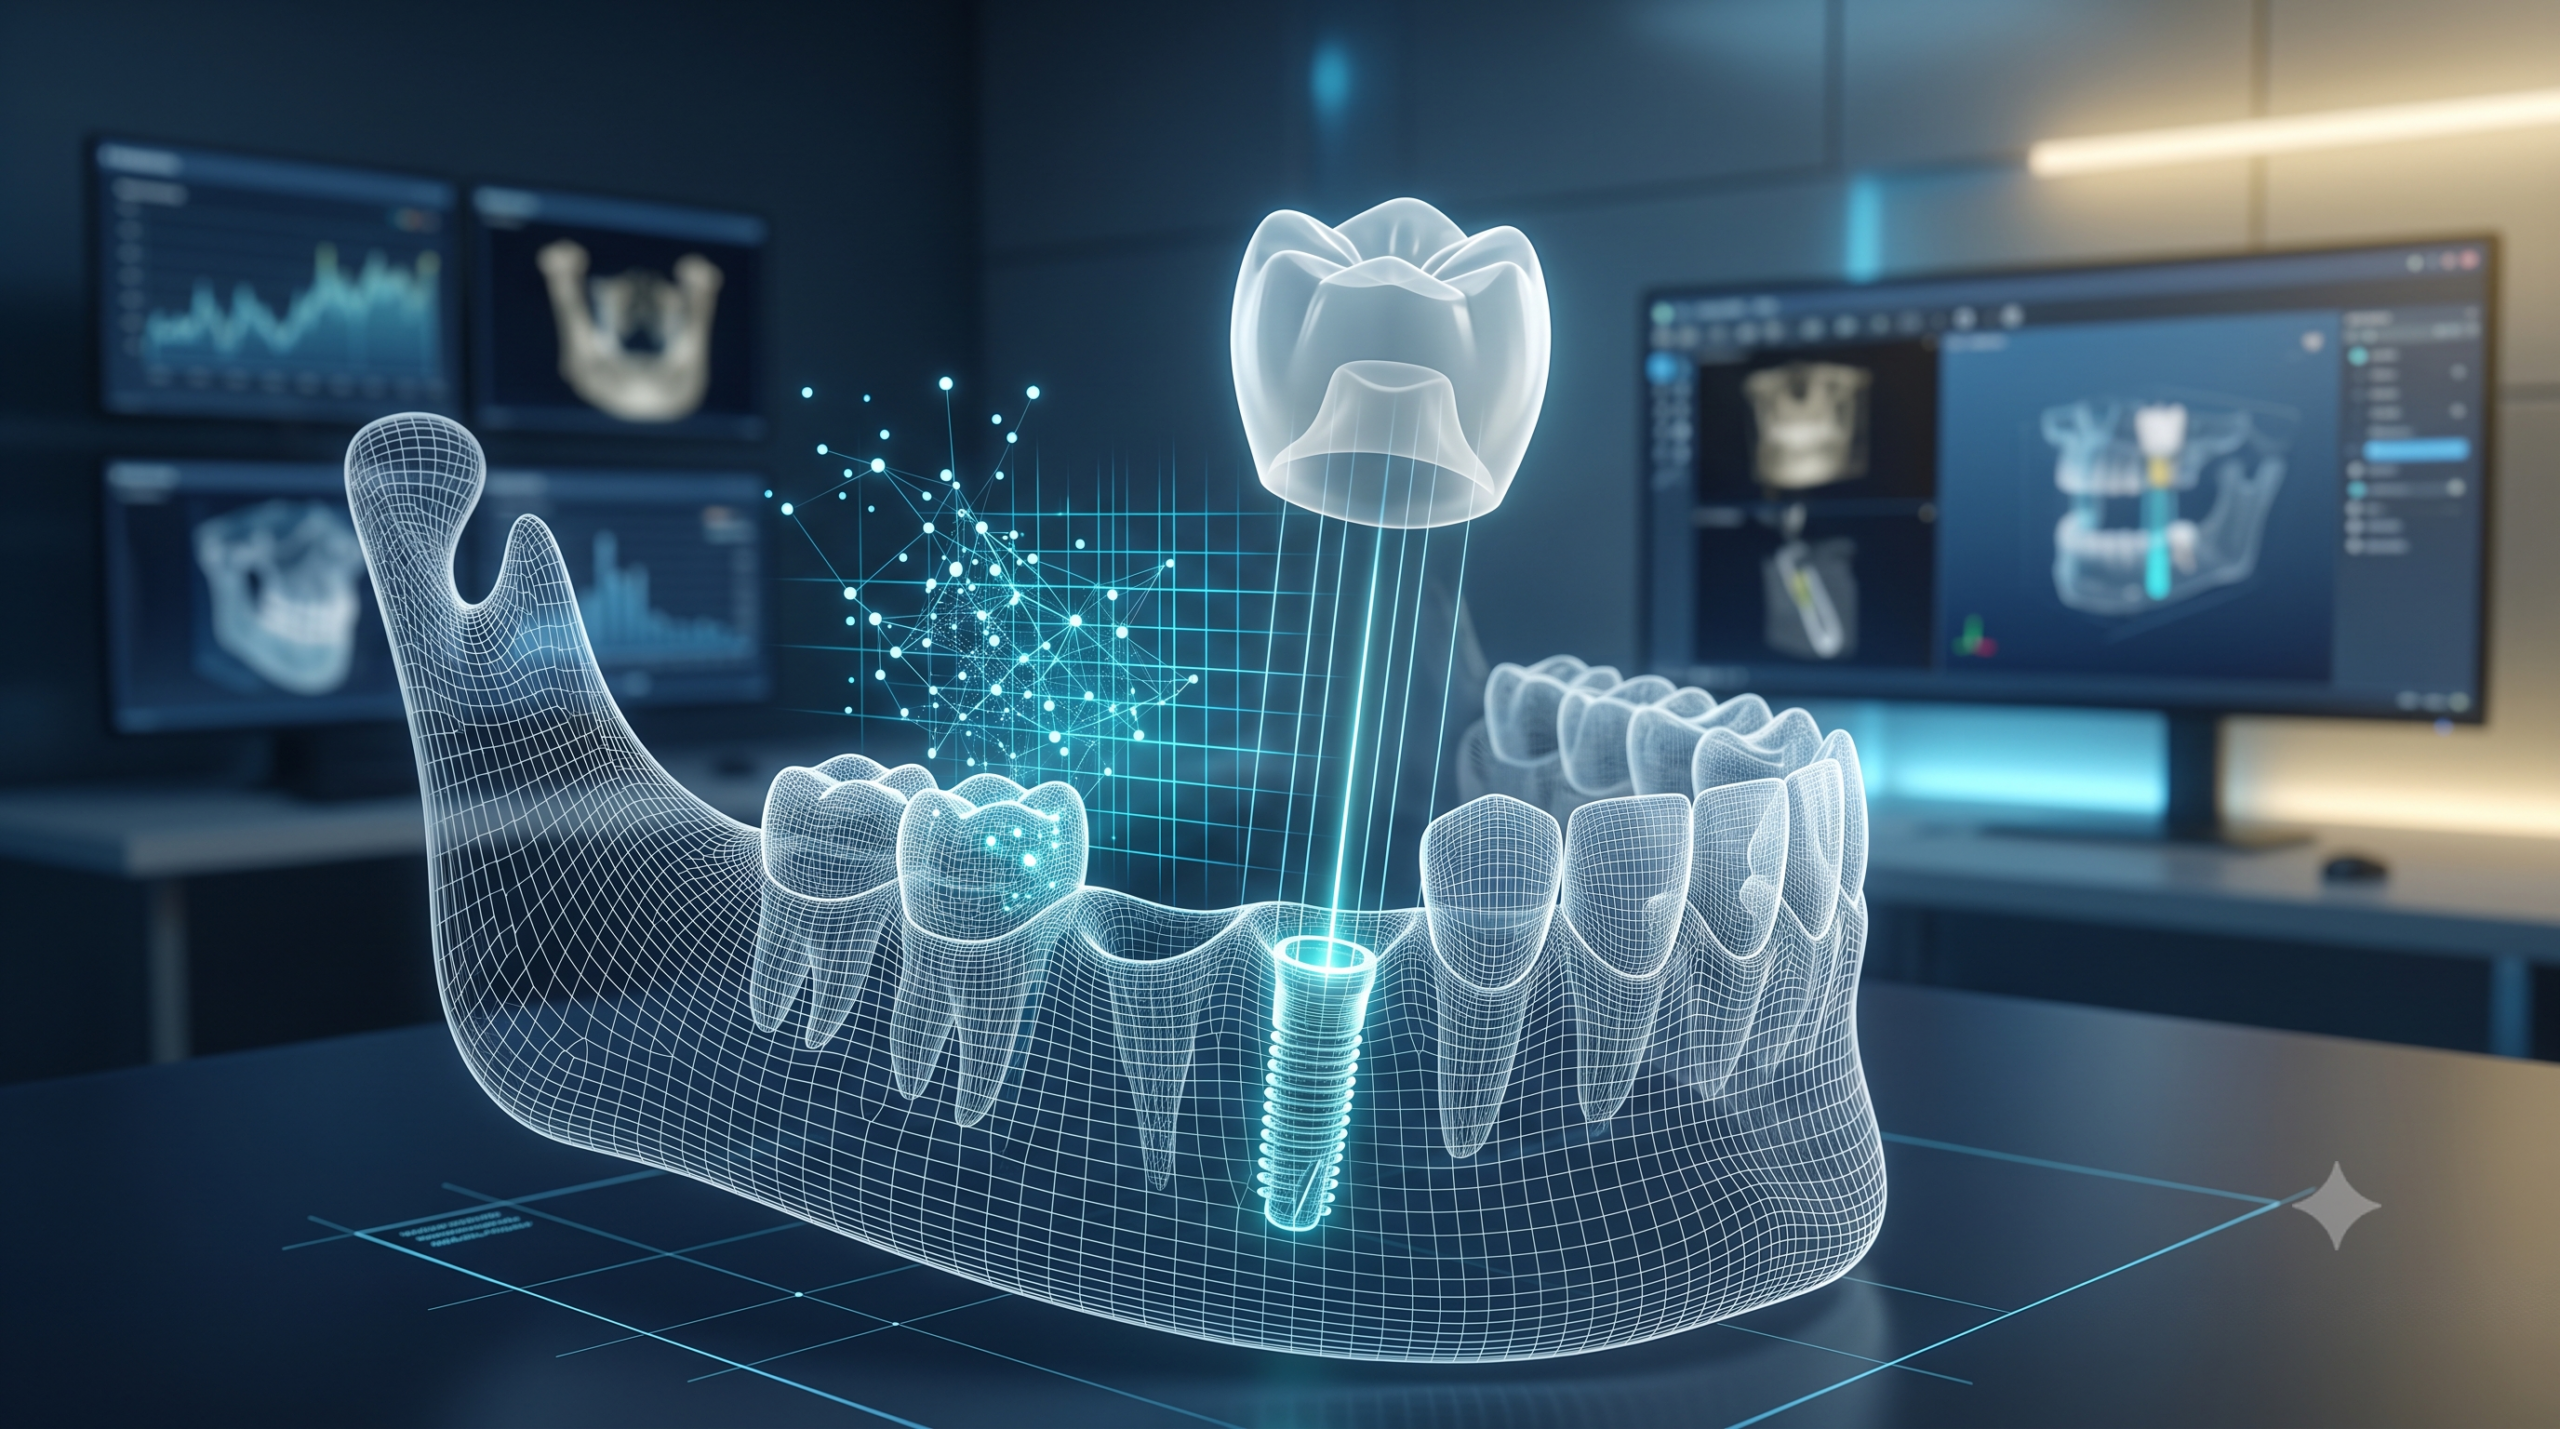
Prosthetically driven implant placement planning is a digital workflow methodology where the position, angle, and depth of a dental implant are determined strictly by the ideal position of the future crown or bridge.
Rather than adapting the restoration to a surgically placed implant, digital software allows clinicians and technicians to reverse-engineer the treatment plan:
- Design the ideal diagnostic wax-up or final crown contours first.
- Align the virtual implant inside the available bone relative to that ideal crown position.
- Evaluate occlusion, screw channel emergence, and soft tissue contours prior to any surgical incision.
- Export a surgical guide and milling-ready temporary restoration for immediate loading.
2. Scientific evidence and biological rationale
Clinical literature consistently demonstrates that prosthetically driven planning significantly reduces mechanical and biological complications compared to freehand surgery.
Key scientific advantages include:
- Optimized load distribution: Placing implants along the long axis of forces reduces shear stress on abutment screws and marginal bone loss.
- Palatal/lingual screw access channels: Ensuring the screw access hole emerges through the occlusal table or lingual surface (avoiding facial access on anterior teeth) allows for retrievable, screw-retained restorations.
- Preservation of peri-implant tissues: Proper 3D implant positioning ensures a minimum of 1.5 mm of facial bone wall thickness and adequate inter-implant distance, preserving papillae and soft tissue contours.
- Predictable immediate loading: Guided surgical execution allows pre-fabricated CAD/CAM provisional restorations to fit precisely on the day of surgery.
3. Step-by-step clinical and digital workflow
Achieving surgical accuracy requires merging dataset files inside open CAD software like exocad or 3Shape.
[1. IOS Scan (STL)] + [2. CBCT (DICOM)]
│
▼
[3. Diagnostic CAD Wax-up]
│
▼
[4. Prosthetically Driven Implant Alignment]
│
▼
[5. Surgical Guide & Immediate Crown STL Export]
Step 1: Data acquisition (DICOM + STL)
The clinician captures the patient’s hard tissue geometry via Cone Beam Computed Tomography (CBCT DICOM files) and soft tissue/dental arches using an intraoral scanner (IOS STL files).
Step 2: Diagnostic crown design
Before loading DICOM data into the implant planning software, a full anatomical crown or digital wax-up is created. This step defines the exact position of the occlusal table, contact points, and emergence profile.
Step 3: Dataset alignment and 3D positioning
The DICOM and STL datasets are merged using anatomical landmarks. The implant fixture is positioned directly beneath the virtual crown, balancing prosthetic requirements with underlying bone availability and vital structure safety margins (e.g., inferior alveolar nerve, sinus cavity).
Step 4: Guide manufacturing and restoration export
Once approved, the surgical guide design is exported as an open STL file for 3D printing, along with custom abutments or provisional crowns ready for milling.
Precision implant planning without the CAD bottleneck
Executing advanced prosthetically driven implant placement planning requires specialized software knowledge, precise dataset merging, and hours of hands-on CAD design time.
At WeCAD4You, we act as an extension of your clinical team or dental laboratory. Our certified exocad specialists handle complex surgical guide design, custom abutment planning, and full arch rehabilitations with high precision:
Zero Administrative Friction: Track your case progress live through our integrated Vevi management platform without paying for extra software licenses.
100% Open Formats: Receive milling-ready STL files compatible with any 3D printer or local milling unit.
Fast 24-Hour Turnaround: Keep surgical schedules on time with reliable overnight design delivery.
🚀 Elevate your surgical precision while saving CAD design time. 👉 [Click here to claim your first free trial design with WeCAD4You]
4. Overcoming workflow bottlenecks through CAD outsourcing
While the clinical benefits of guided surgery are indisputable, managing complex surgical planning in-house poses operational challenges for busy dental practices and laboratories:
- High learning curves: Mastering exocad implant modules requires ongoing training and time investment.
- Software software costs: Maintaining expensive annual software modules for occasional surgical cases can reduce profit margins.
- Turnaround delays: In-house staff bottlenecks can delay surgical guide production and patient appointments.
Outsourcing surgical guide planning and custom abutment design to dedicated CAD partners allows clinics and labs to scale their implant case capacity without increasing fixed operational overhead.
5. Frequently asked questions (FAQs)
What files are needed for prosthetically driven implant placement planning?
You need two primary datasets: a CBCT scan (in DICOM format) providing hard tissue structure, and an intraoral scan or model scan (in open STL or PLY format) providing accurate soft tissue and dental surface details.
Why is a diagnostic wax-up required before placing the virtual implant?
Without a virtual wax-up, you risk placing the implant where bone is abundant rather than where the crown needs to be. Planning the restoration first ensures correct emergence profiles, proper occlusion, and screw-retained accessibility.
Can WeCAD4You design surgical guides for any implant brand?
Yes. Our exocad design workflows support all major guided surgery systems and implant brands (Nobel Biocare, Straumann, Zimmer Biomet, BioHorizons, etc.), delivering open STL files ready for local 3D printing.
Conclusion: Prosthetics first, surgery second
Adopting prosthetically driven implant placement planning elevates dental treatment from reactive surgery to predictable, engineered rehabilitation. By prioritizing prosthetic design at the onset, clinicians avoid aesthetic compromises and technical complications.
Looking to streamline your guided surgery planning and CAD production? Partner with WeCAD4You today and experience precision digital design delivered on time.
👉 [Contact WeCAD4You today and get your first trial design completely free]