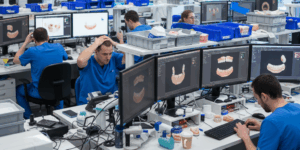
2025 is drawing to a close. For a dental clinic or lab, this is a crucial time not only for financial reconciliation but also for auditing the most valuable asset in their digital production: their workflow powered by Dental CAD CAM software.
Year-End Checklist: 10 Keys to auditing your digital workflow
| Audit Point | Standard Description | YES / NO |
| 1. Calibration and Maintenance | Your intraoral/lab scanner and milling unit were calibrated and received preventative maintenance according to manufacturer specifications within the last 6 months. | |
| 2. STL File Handling | Received scan files are standardized (e.g., artifact cleaning, undercut removal) before starting the design in the Dental CAD CAM software. | |
| 3. Design Traceability | A tracking system exists for every case that records who designed it, when, and which version was approved, minimizing communication errors. | |
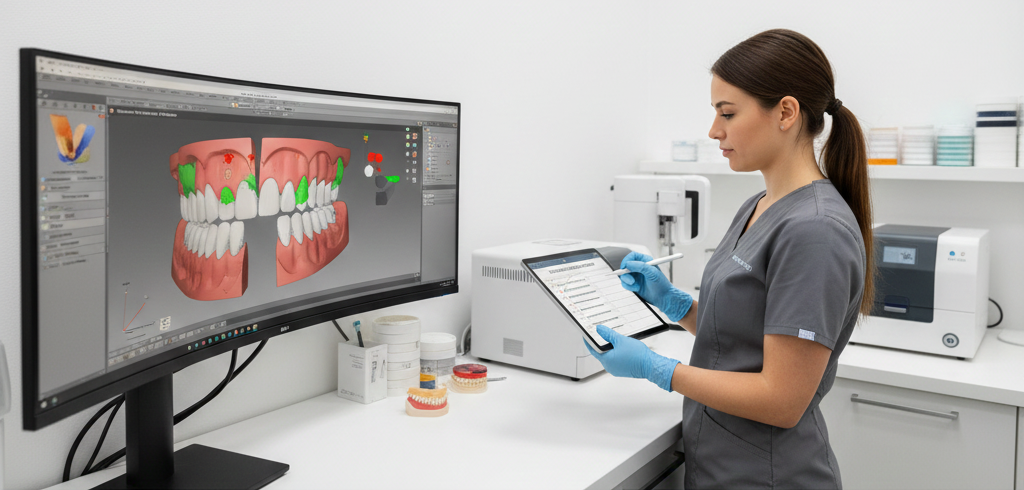
| 4. Library Integration | Your Dental CAD CAM software uses the specific dental library for the implants or materials you use most frequently, ensuring a perfect prosthetic fit. | |
| 5. Design Standardization | The average design time for simple crowns is predictable and consistent (e.g., under 10 minutes), indicating efficient templates and workflows. | |
| 6. Minimum Thickness Control | All designs automatically or manually verify that the minimum thickness required by the milling/printing material is met. | |
| 7. Nesting Preparation | The CAM file is reviewed by the Dental CAD CAM designer to optimize positioning in the disc/block, minimizing material waste (less than 10% unused material). | |
| 8. Milling/Printing Profiles | Your machining/printing profiles are updated to the manufacturer’s latest version to ensure maximum precision and tool life. | |
| 9. Post-Milling Feedback | A feedback loop exists where the milling team informs the designer of any post-processing adjustments (e.g., excessive sanding) to improve future designs. | |
| 10. Software Training | The design team has been trained on the latest updates and features of the Dental CAD CAM software released this year. |
Explanation + Action Plan: What to do if you fail
1. Calibration and Maintenance
- Explanation: The precision of a digital system is only as good as its weakest component. A non-calibrated scanner or a milling machine without proper filter changes generates imprecise restorations that might look like design flaws.
- If you fail here: Action: Schedule preventative maintenance immediately. Document the intervals. Your system’s 5 micron accuracy isn’t magic; it’s technical maintenance.
2. STL File Handling
- Explanation: Efficient design starts with good input data. Correcting large bubbles or artifacts in the Dental CAD CAM software consumes valuable time that is better spent chairside or in production.
- If you fail here: Action: Implement a “quick cleaning” STL protocol. If the scan is poor, demand a new scan. Do not design over deficient data.
4. Library Integration
- Explanation: Designing with generic libraries for implants or custom abutments is a recipe for clinical failure. Specific libraries guarantee the exact interface geometry and long-term stability.
- If you fail here: Action: Contact your Dental CAD CAM software vendor and your implant brand. Request and install the official libraries.
5. Design Standardization (Time/Case)
- Explanation: Variability in design time indicates that every Dental CAD CAM designer is reinventing the wheel. An optimized flow uses anatomy templates (shells) and preset parameter adjustments (e.g., spacer, margin) to save critical minutes per case.
- If you fail here: Action: Develop 3-5 standard anatomy templates for the most frequent cases (e.g., lower molar, central incisor). Train the entire team on their use.
7. Nesting Preparation
- Explanation: Poor positioning of the restoration in the zirconia or PEEK disc can force a bur to cut material at a suboptimal angle, affecting the finish or, worse, breaking the bur. The Digital dental design service must go beyond design and consider the milling process.
- If you fail here: Action: Review your nesting strategy. Ensure critical restoration areas are well-supported and that burs can access all surfaces.
9. Post-Milling Feedback
- Explanation: If the post-milling team always has to “manually adjust” the margin or contacts, it means there is a systematic error in the Dental CAD CAM software parameters that needs correction.
- If you fail here:Action: Establish weekly 15-minute meetings between the designer and the production technician to review 5 “problematic” cases and adjust design parameters accordingly.
Too many ‘NOs’ on the Checklist? Let’s talk about improving your workflow with an expert CAD partner
If your year-end audit revealed more than 3 systemic failures, it is a clear sign that your Dental CAD CAM software is not working to its full potential, and you are losing money and time.
At WeCad4you, we are your Digital dental design service expert. We specialize in pure CAD design, providing you with a high-precision, optimized workflow. We empower you to outsource your digital designs with confidence, delivering ready-to-mill/print files every time.
Stop wasting time on technical troubleshooting and focus your lab or clinic on what truly matters: milling, printing, and final delivery.
Contact WeCad4you today to transform those “NOs” into guaranteed digital design efficiency.